Running Bardolph in Jupyter Notebook
By Al Fontes
Running a Bardolph Script in Jupyter Lab
Using the Python integration support, you can use Jupyter Notebook as a convenient way to quickly edit and run Bardolph Lightbulb scripts.
Note
Although many people use an online version of Jupyter Notebook, you must run it locally if you want to control real devices. This is due to the fact that Bardolph runs only on your local network and does not acccess the Internet.
First, you need to set up your environment. Standard practice is to first create a Python virtual environment:
python -m venv .venv
source .venv/bin/activate
The next step is to install the Bardolph package, followed by Jupyter Lab:
pip install bardolph
pip install jupyter
That’s all you need to do. You can now start the environment with:
jupyter lab
At this point, a browser should open with the Jupyter launch page. Under “Notebook”, click the “Python 3 (pykernel)” button to launch the development environment.
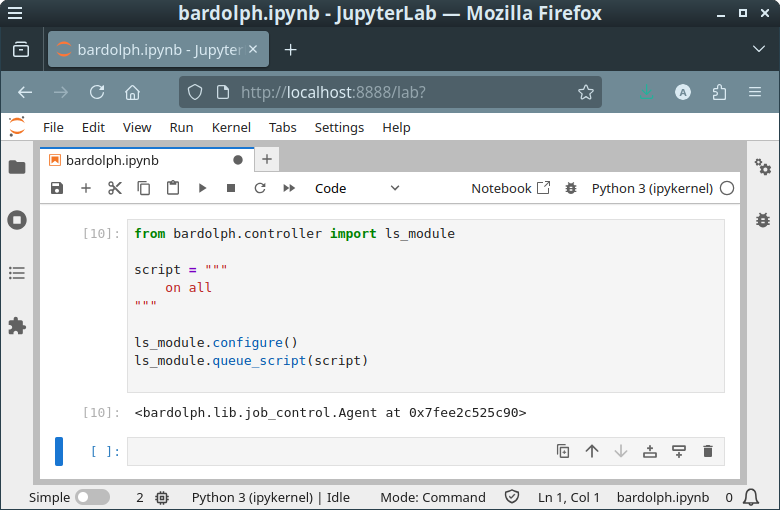
Next, you need to put in the Python code that will run the script. Below is an example with a minimal script that just turns on all the lights:
from bardolph.controller import ls_module

script = """
    on all
"""

ls_module.configure()
ls_module.queue_script(script)
When you run this code, all of your Lifx lights should turn on.
As you can see, it should be very easy to quickly edit scripts and run them in this environment. For more information on the scripting language, see the language reference: Language Reference. For some background on the Bardolph Python integration, see Python Interface.